I love to teach anything and everything chainmail. Whether it’s a tricky weave, a specific project, or the theory of design, I’ll teach it! But no matter what else I might be teaching, I always teach my students how to achieve good ring closures. Good closures are a must if you want sleek, silky chainmail. After several years teaching these techniques as part of all my other classes, I decided to teach a class dedicated just to ring closures. This blog post is a web-published version of the class handout from my Perfect Closures class. It was never intended as a standalone document, so I may come back later to “tweak” it. Please send me email if there are any details that need a little more explanation.
Amusingly, when I most recently asked my printer for more copies of this handout, they interleaved the pages with the instructions for the Stairstep Japanese bracelet, resulting in back-to-front pages containing both handouts. If you’d like to have this information in printed form, I encourage you to grab one of these “mistake” documents, available on the Limited Editions page.
Now on to the class handout…
Perfect Closures
The following is a discussion of various ways that your jump rings might not be “perfect” when they’re closed. For each error, I’ve suggested a few ways to correct it but I’ve also left plenty of space for you to add your own notes. Everyone’s techniques will be slightly different, so be sure to record what works especially well for you. And remember that the bad habit plaguing your neighbor might be no problem for you, and visa versa — so share your insights!
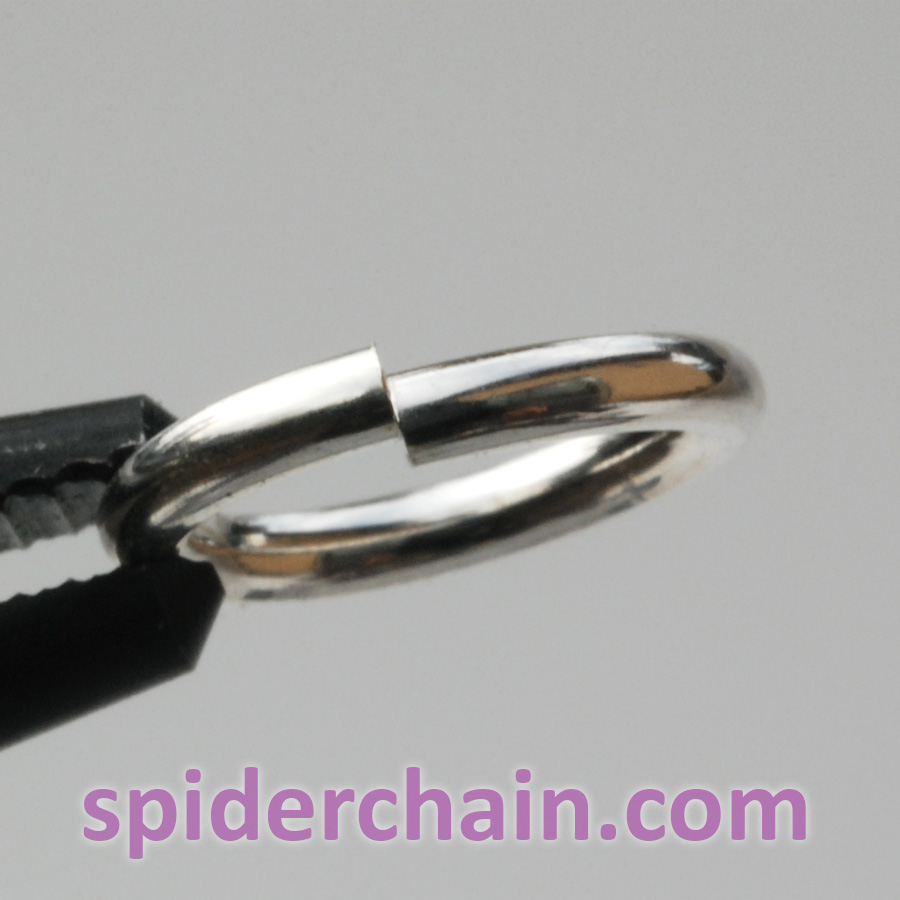
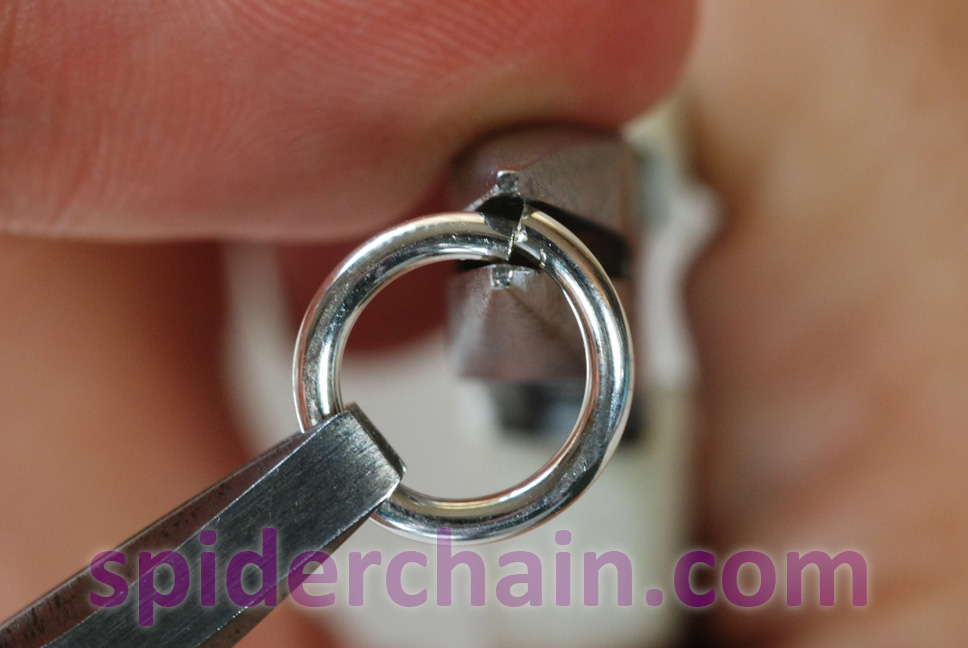
 Gapped
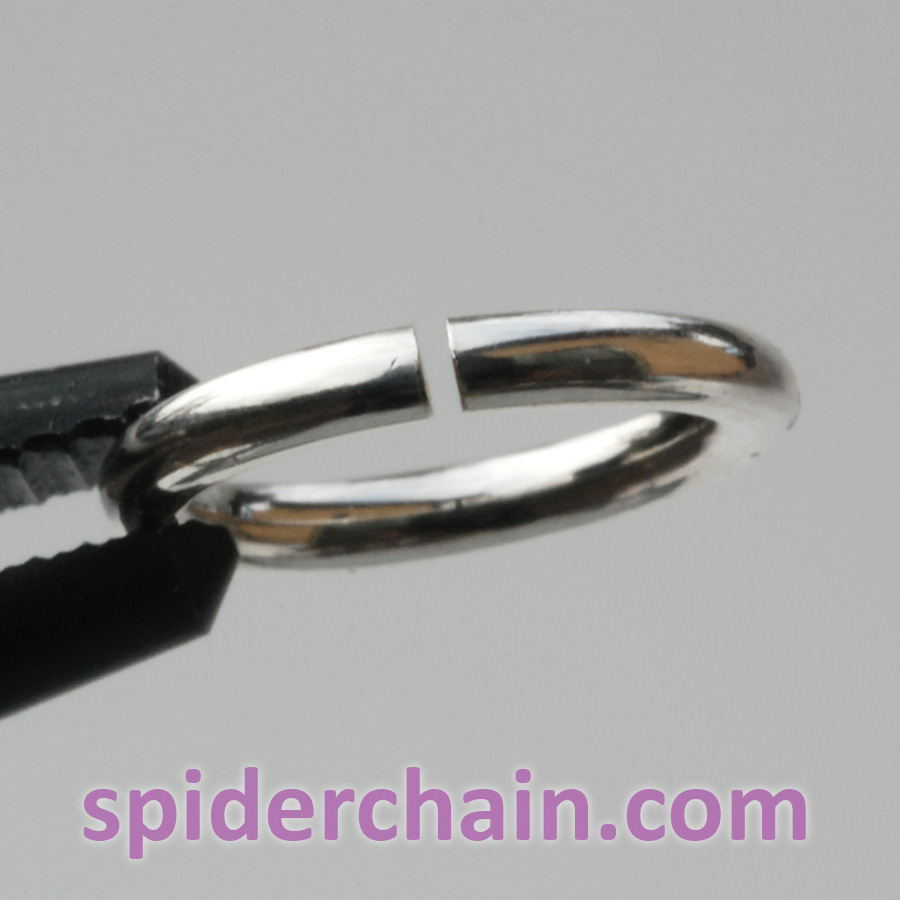
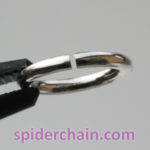
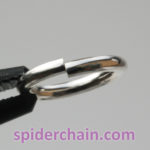
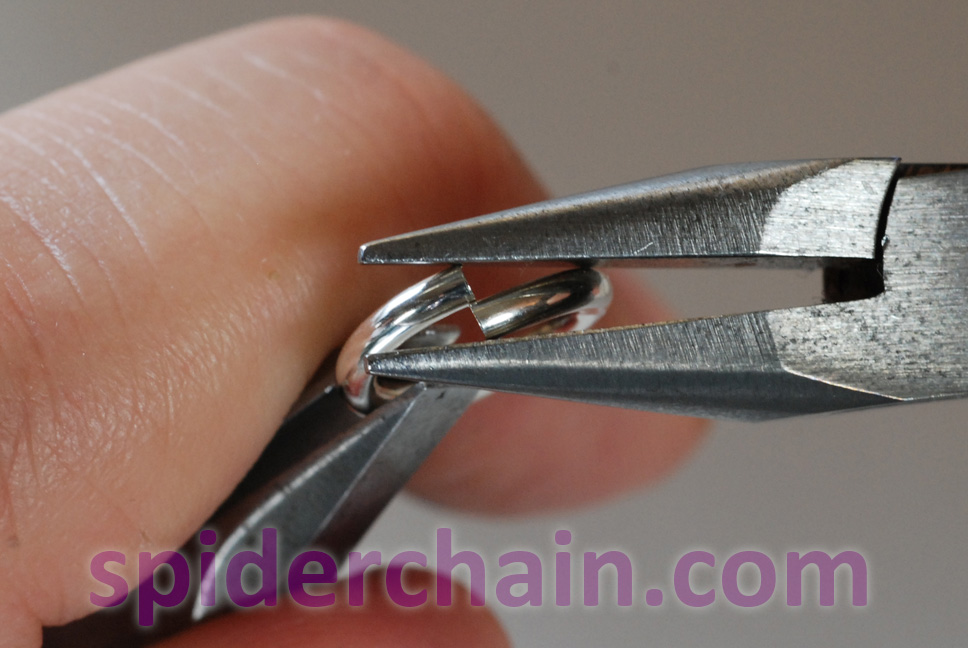
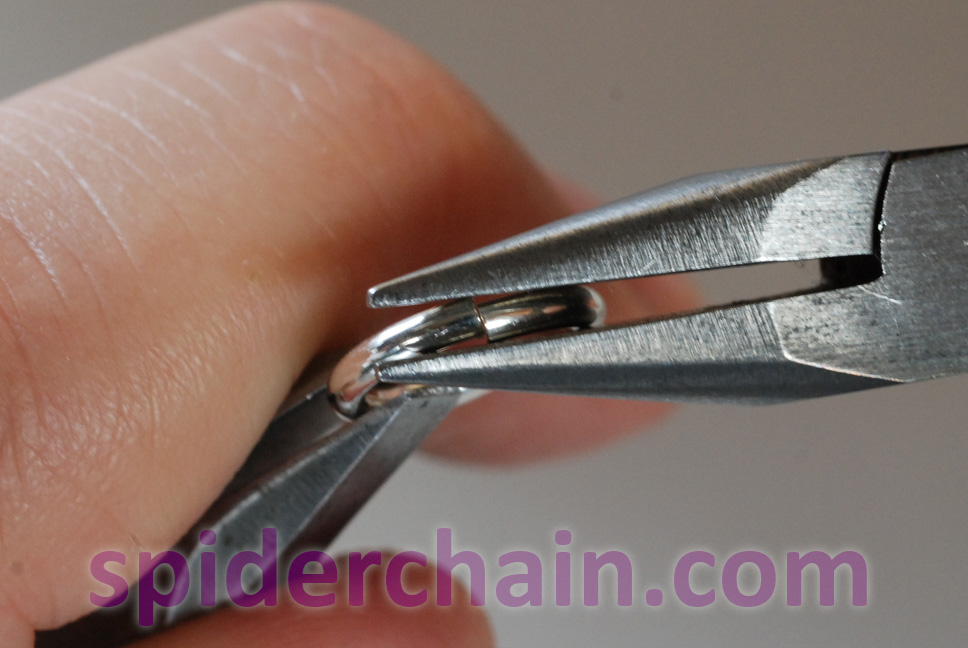
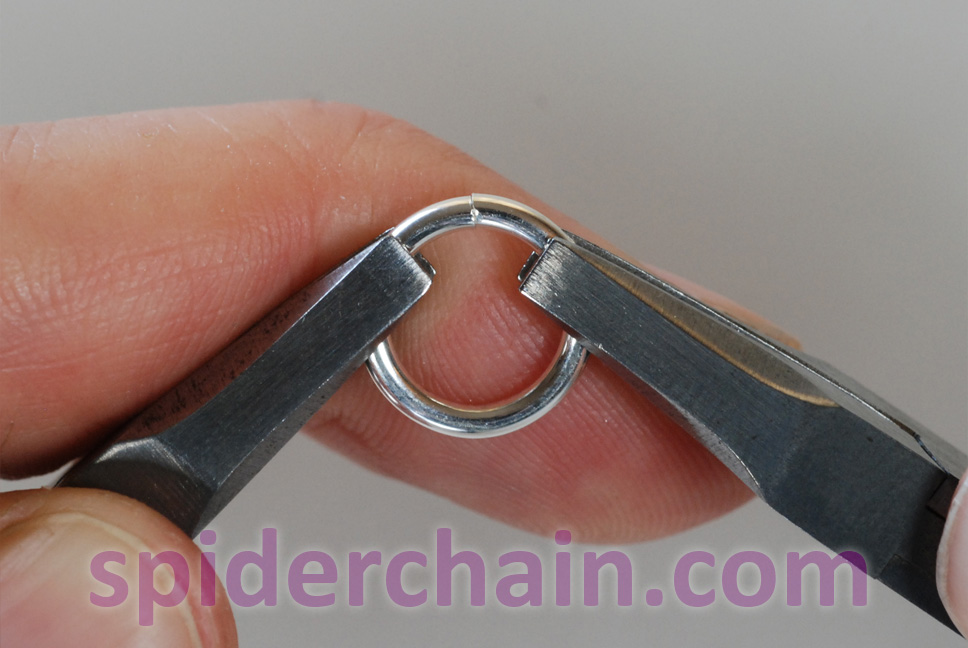
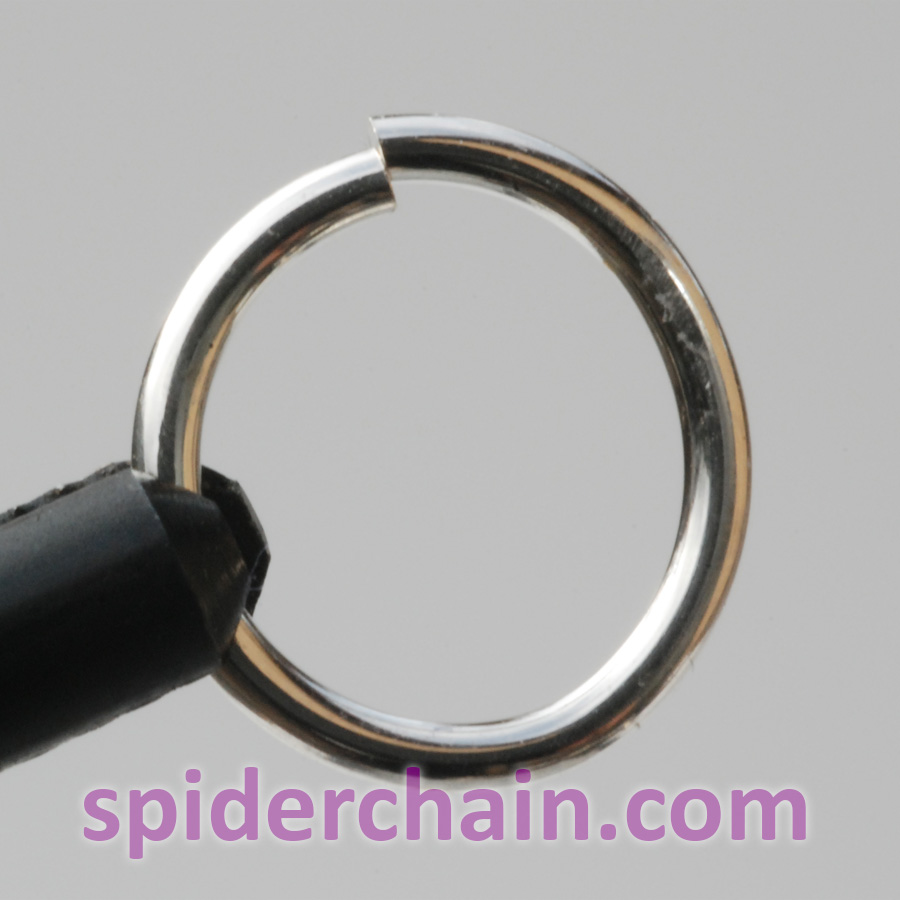
A gapped ring has a space between the two ends. All saw-cut rings begin with a gap, it’s the saw kerf. If you can still see any light through your finished ring closure, that gap hasn’t been completely closed.
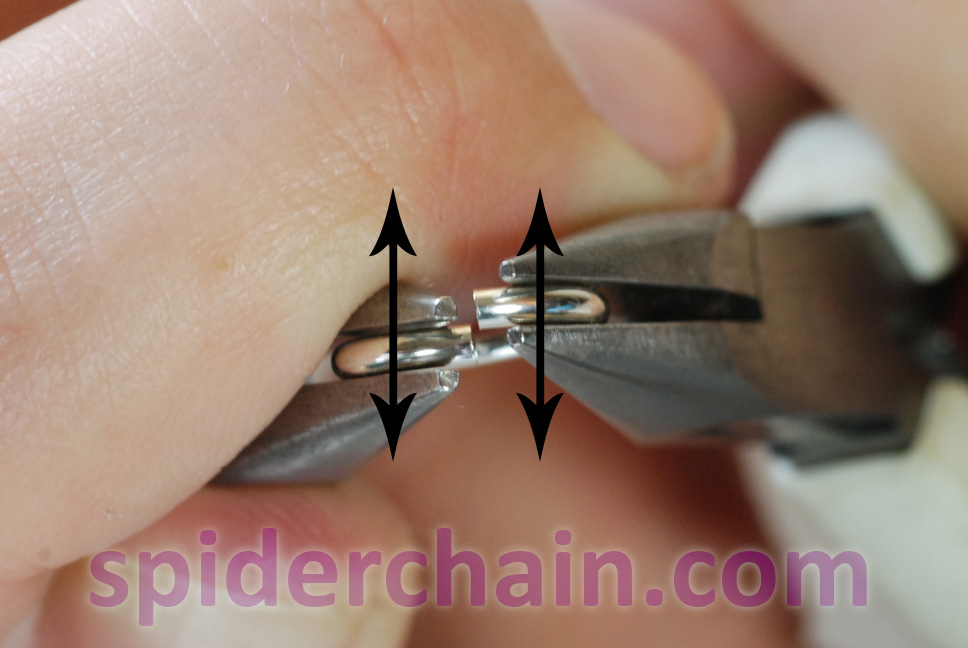
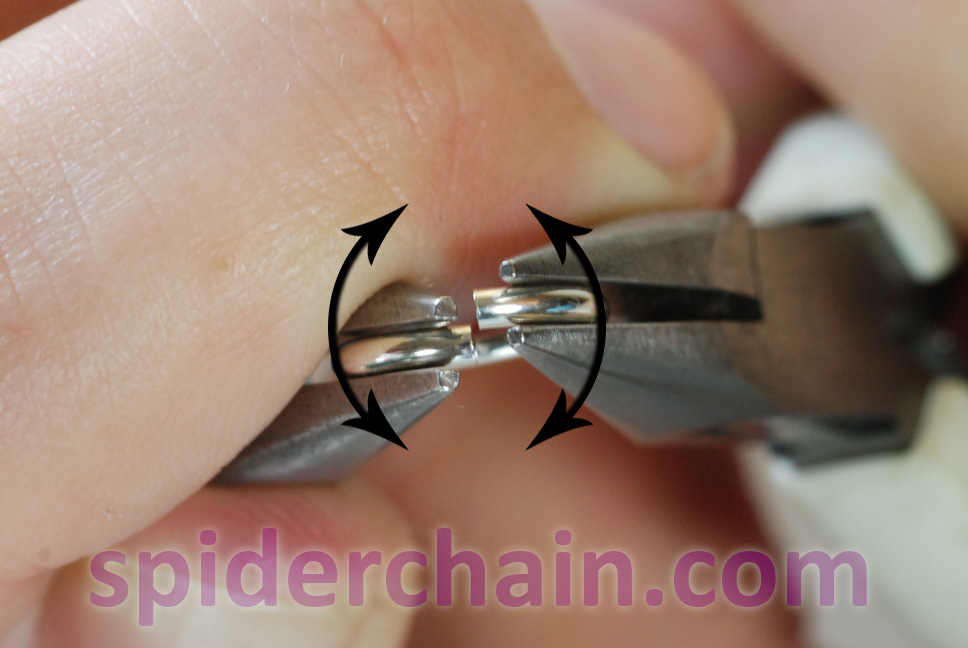
 When you first open your rings, “spiral” the ends. It’s easier to close the gap if you’re also moving the ends in the “offset” direction at the same time. Then, when you close up the ring (remove the offset) the gap will be gone.
If you have stubborn gaps try over-spiraling a couple of rings. As you open the ring, go much further than you think you should for closing the gap. Once your hands know what “too far” feels like, you can ease off to “just right.”
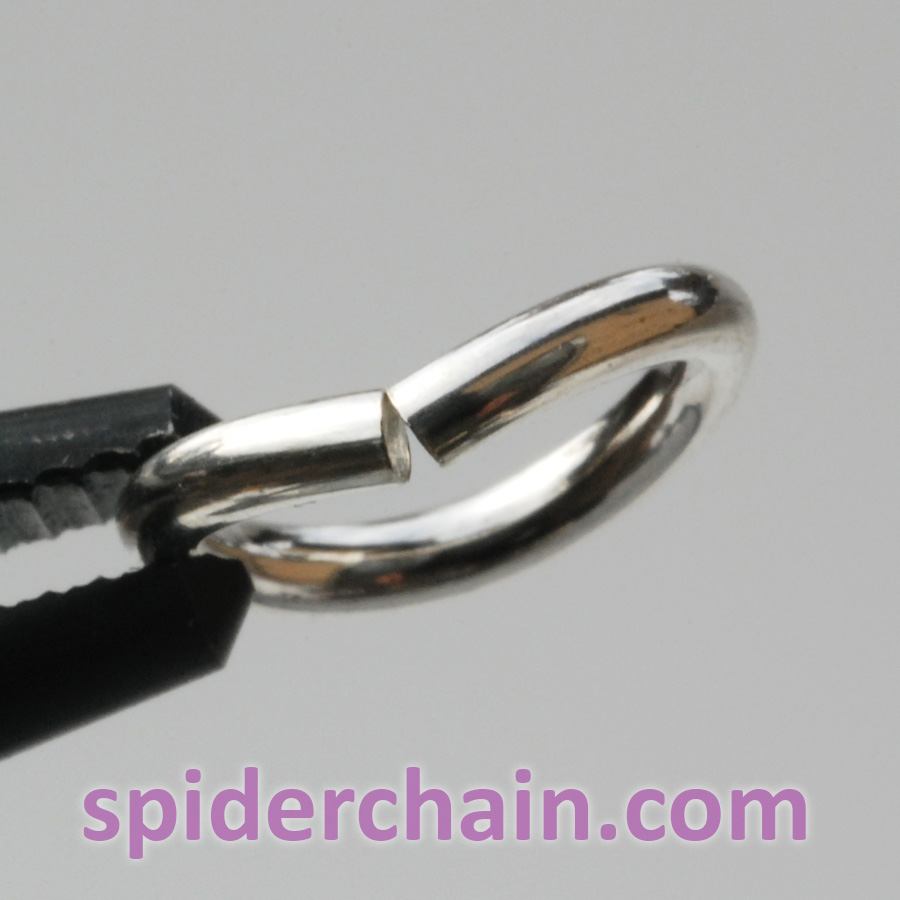
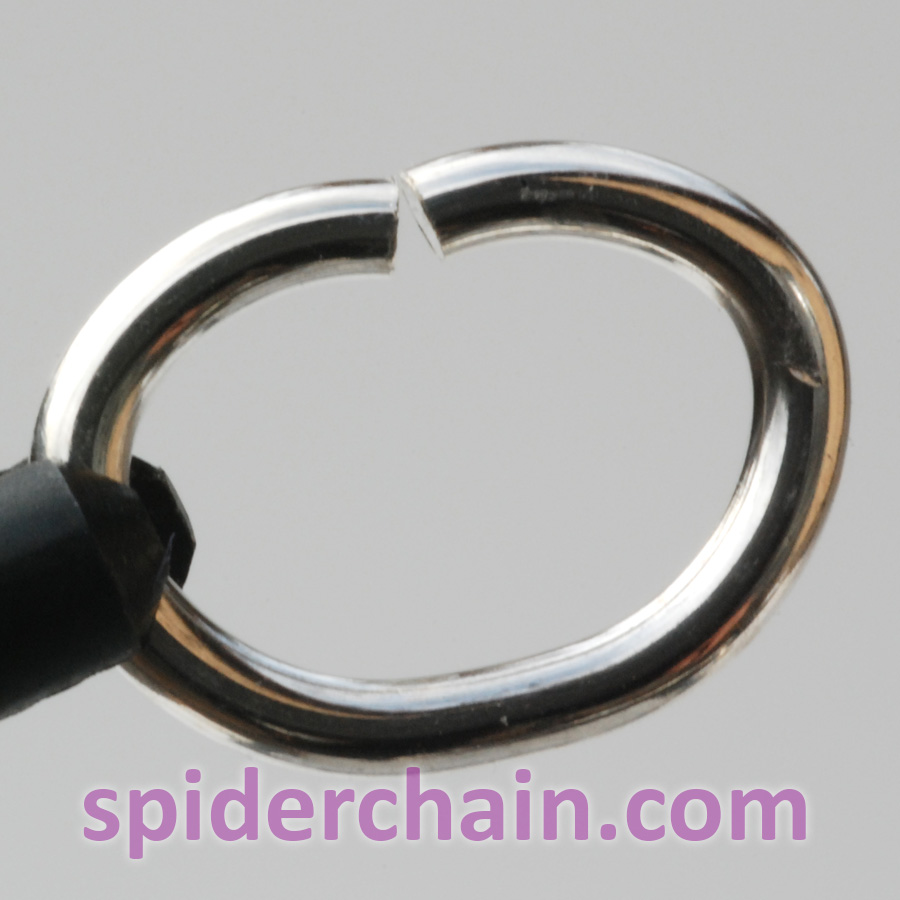
 Offset
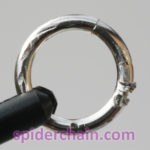
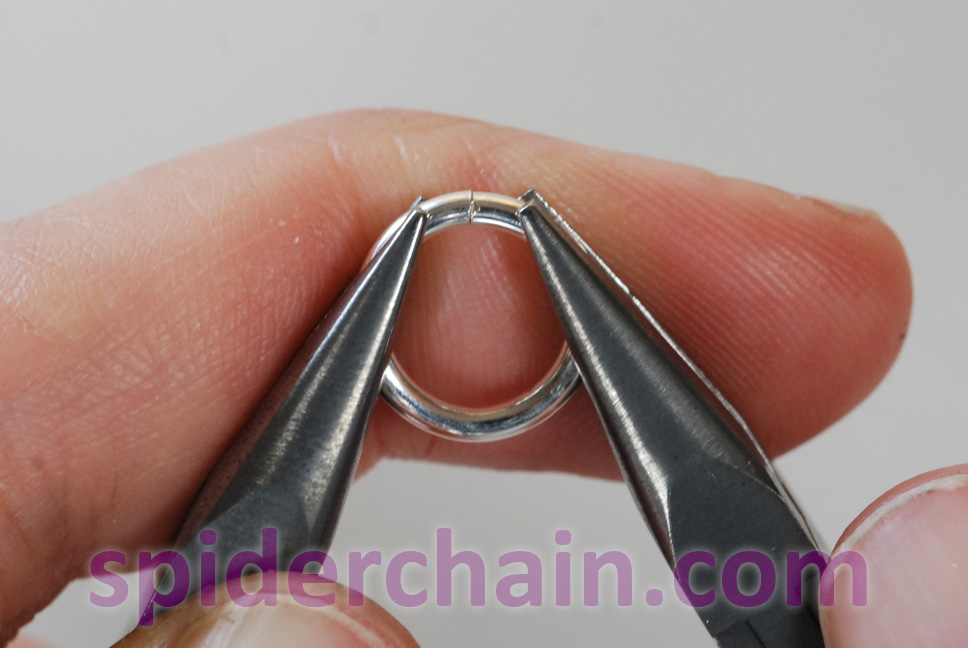
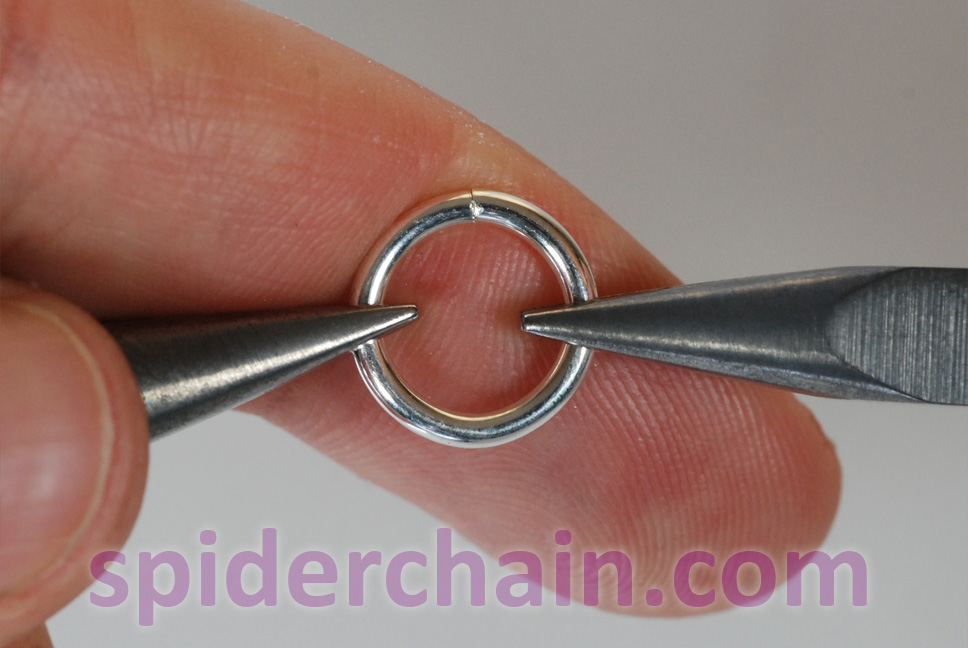
An offset ring has one end “higher” than the other. If you lay the ring flat, one end won’t be touching the table. All rings begin with an offset because the wire starts out wrapped in a spiral spring. Offsets are often difficult to detect unless you specifically check for them by viewing your closed ring end-on (see photo). You can also run your fingernail over the closure — if your nail catches in one direction and not the other, you need to tweak the closure.
Look end-on as you adjust the offset and remember that you’ll have to close past the point where the ends line up, because the ring will spring back a little.
There is such a thing as a “stealth offset.” These can occur when you have no gap at all (hurray!) because the pressed-together ends can hold a spring-loaded offset – tension in the wire that isn’t visible to the eye (boo!) Later, when the chain gets bumped, those spring-loaded offsets “sproing”: the ends slide past each other and the offset becomes visible. Avoid these by gently nudging the ends of your tightly closed rings. If you have a stealth offset, it will sproing and you can correct it then.
 Pringled
A pringled ring looks like a potato chip – curved and scooped, not flat. If you lay a pringled ring on a flat surface it will rock back and forth. Rings do not start out pringled, it’s all you. Pringles can happen two ways: 1) You rotate your pliers as you manipulate the ring. 2) More common is to force the ring when the ends snag as you’re closing it.
Avoid pringles thusly: 1) Don’t roll your pliers.
2) Don’t grip too tightly. It’s much easier to feel the ring ends snag if you don’t have a death grip. When the ends do snag, and they sometimes will if you’re closing the gap correctly, don’t just shove the ends past each other. Instead, use one pair of pliers to squeeze past the snag.
Once the ends are un-snagged, go back to closing the ring as usual – even if it looks like the ends have re-snagged, they will most likely slide past each other.
 Mangled
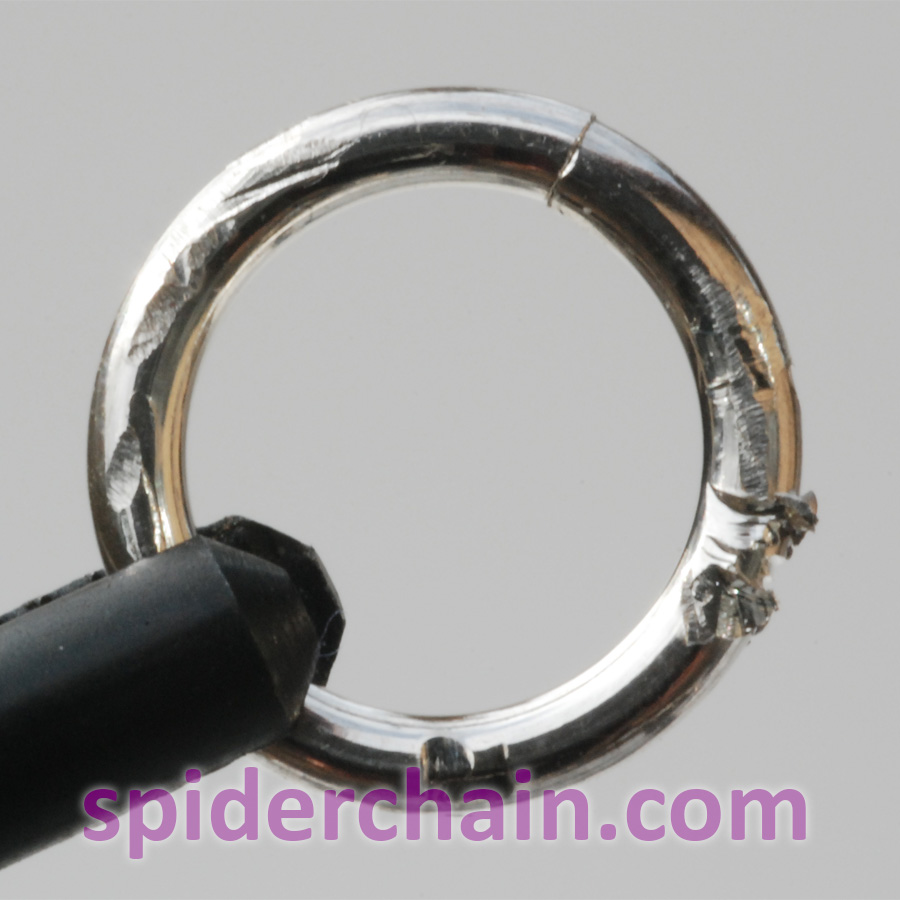
A mangled ring has been chewed up by your pliers. This could be because:
1) Your grip is too tight.
2) You’re using the wrong pliers for your rings.
3) You’re coming in at the wrong angle.
4) You’re slipping off the edges of your rings.
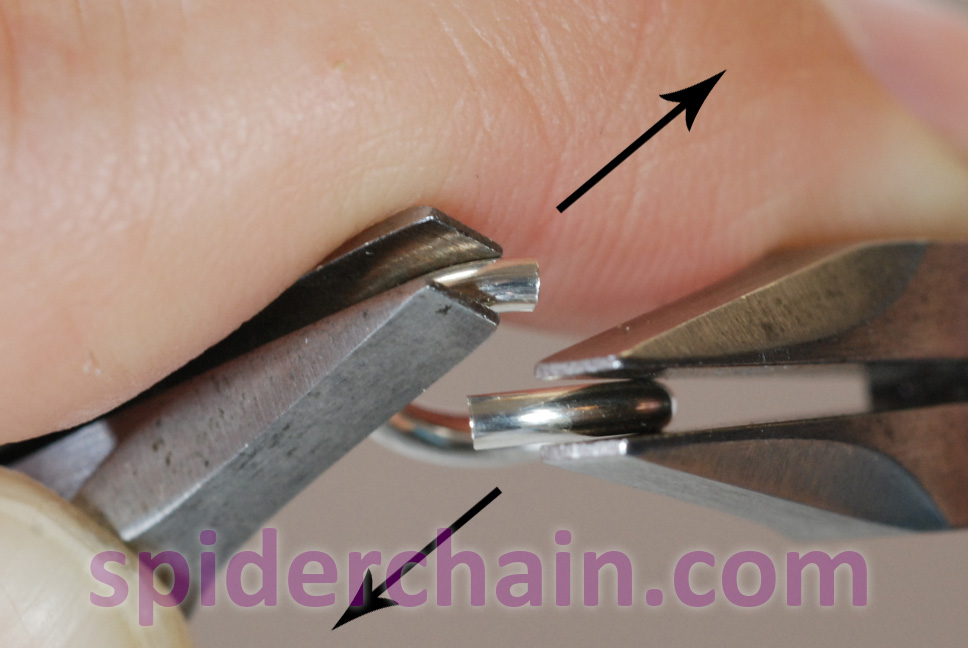
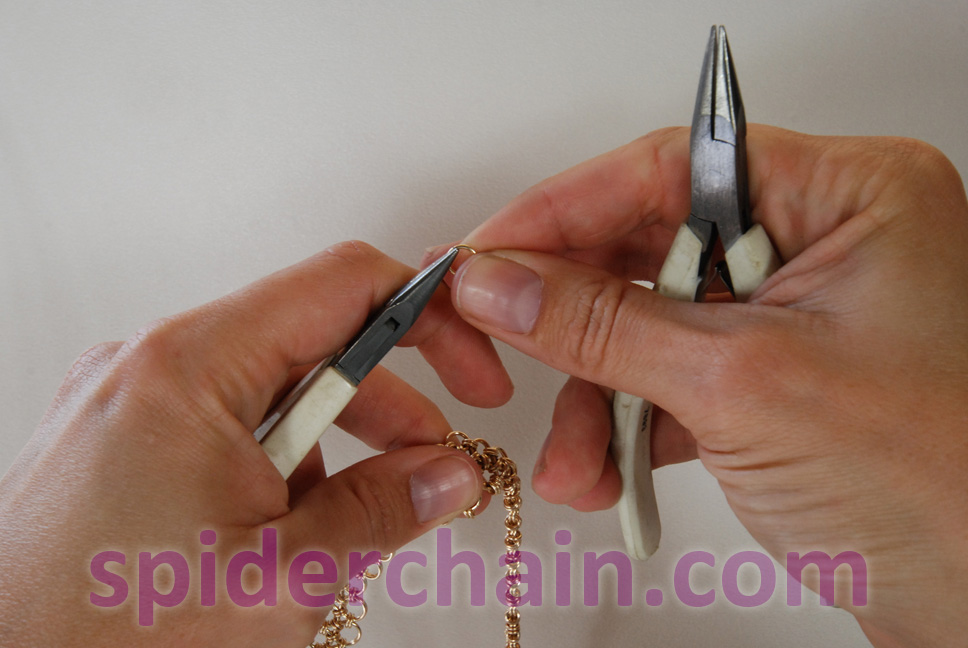
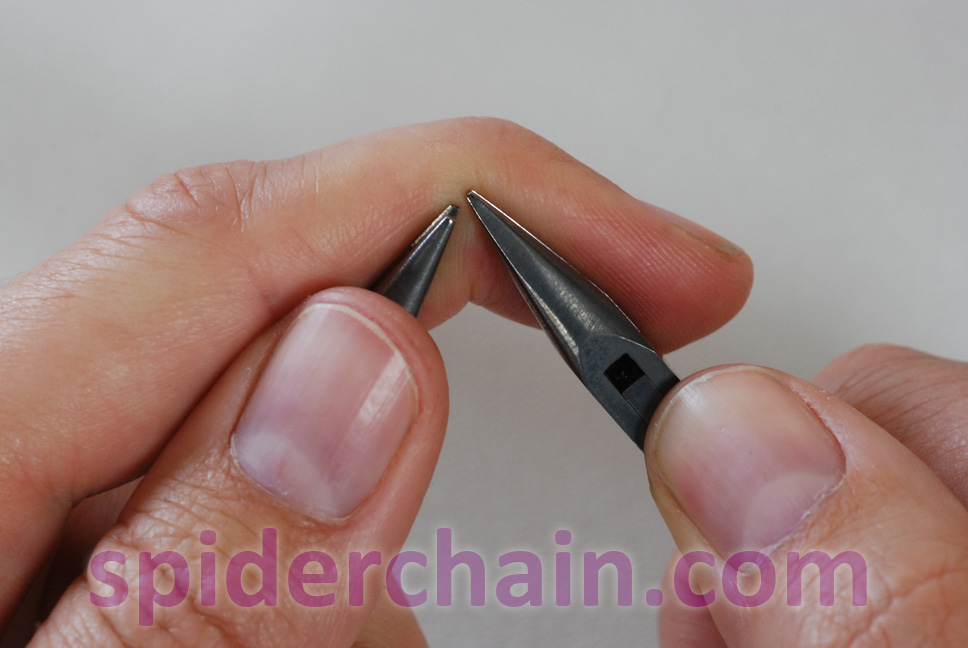 This seems like a good moment to introduce a very important idea in chainmailling technique – always use your hands as a single unit. This means that you maintain a point of connection between your hands other than the ring you’re working on. My personal favorite is to rest the tip of my dominant-hand pliers on the outstretched index finger of my other hand. When your hands are connected in this way you keep the pliers from drifting. Your pliers are then less likely to slip off and you won’t need to grip so tightly to keep them on the ring. A gentler grip means less mangling. In order to weave with pliers as shown, you need to scoot your hands closer to the jaws of the pliers. Your ring finger and pinky can squeeze the handles which frees up your “smart fingers” to manipulate your work. This hand position has the added benefit of better control because you’re so much closer to the working end of the pliers. So even if you aren’t mangling your rings, you should still try to scoot toward the tips and keep your hands connected.
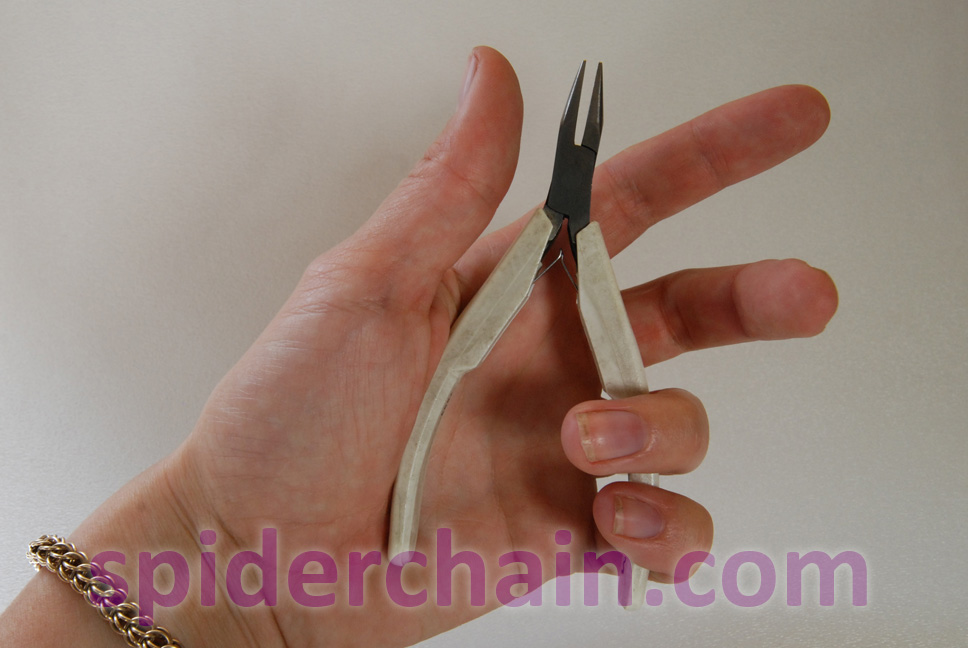
Now a few words about tools. Use pliers appropriate for your work. This means no teeth and no round-nose pliers.
The size of the jaws is also important. If you’re working with tiny rings, use fine-tipped pliers. If you’re working with huge rings, use flat-jaw or even duckbill pliers. You can get away with chain-nose pliers for nearly everything if you’re careful to come in at a steeper angle for larger rings (see photo). The idea is to always have a wide grip on your rings. A tiny point of contact concentrated the force that you apply to the rings, giving you dents. A tiny point of contact also reduces your control over the ring.
 Skewed
Skewed rings have ends that don’t line up, like the offset rings. However, a skewed ring can lie flat where an offset ring cannot. A skewed ring is no longer a circle because one end is further from the center.
There is no trick for avoiding skewed rings, just be sure you aren’t pulling/pushing your pliers toward/away from your body. If you have a tendency for skewed rings, practice with some “keep-you-honest rings” – large rings made from relatively thin wire that exaggerate the effect of certain bad habits.
Gently skewed rings can be fixed by skewing the other direction, but it’s not a good idea to squeeze from the outside – that will often result in a peanut ring.
 Optional technique: You can try a one-pliers technique similar to the “un-snag” move for pringled rings. This technique runs the risk of marring the inside curve of the ring. Its usefulness depends on your pliers, ring size, skill, material, etc.

Peanut
A peanut ring has been squeezed from outside, squishing it into an oval, or at the most extreme, a dented peanut. Peanut rings are usually skewed rings that were fixed incorrectly.
The way to fix a peanut ring is usually to get a new ring. If it’s only slightly peanuted, you can sometimes get away with squeezing it back the other direction, but more often than not, it will end up in the scrap bin.
This is awesome info! I’m just get started adding Chainmaille to my fine silver pieces and I live the combination! Another Chainmailler at my last art show recommended your site and I’m so glad she did. After my brain stops spinning, I’ll be buying my rings from you ??
Oops…meant to say Love the combination ?