This is a mini-lesson for joining ends of European 6-in-1. If you don’t already know how to make this weave, I recommend buying a copy of my first DVD which teaches European 6-in-1 plus six other weaves.
 Step 1
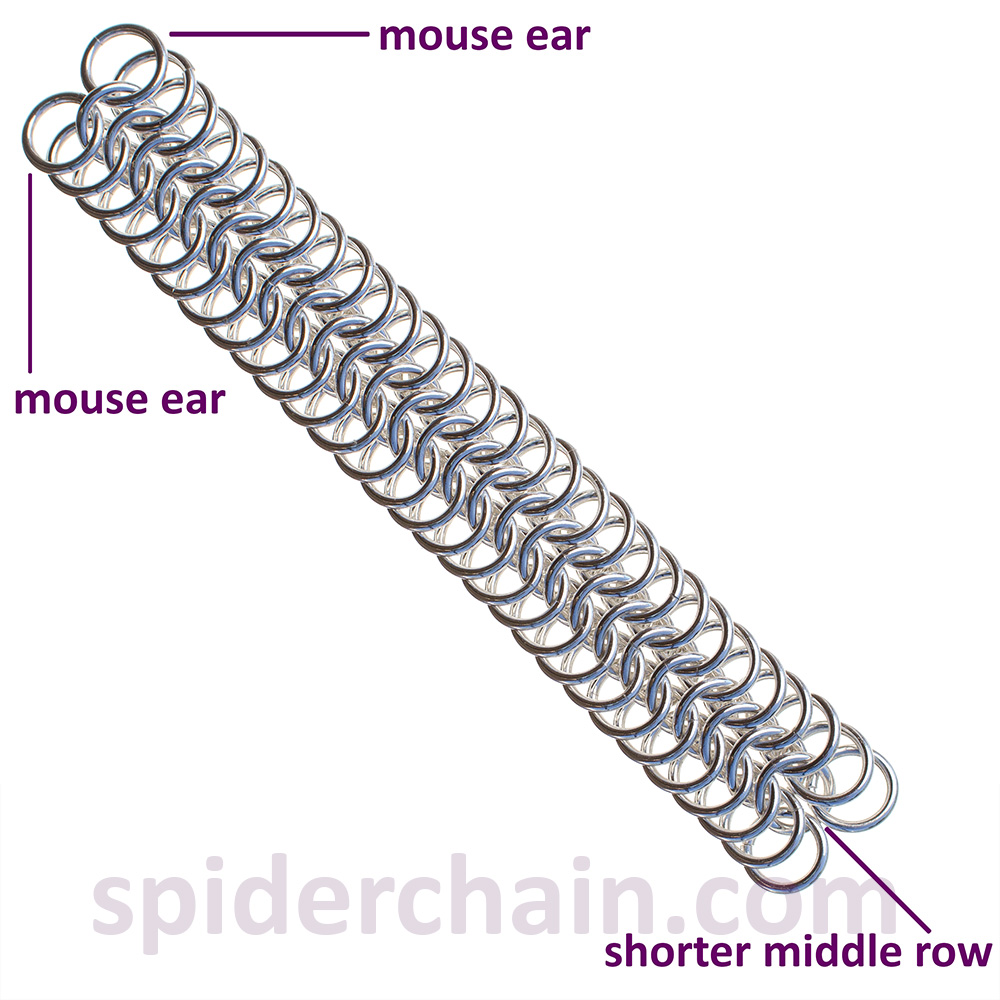
Make a strip of European 6-in-1, 3 rows wide. If you use the “mouse ears” method shown on my first DVD, your strip of 6-in-1 will have a shorter middle row and longer edge rows.
 Step 2
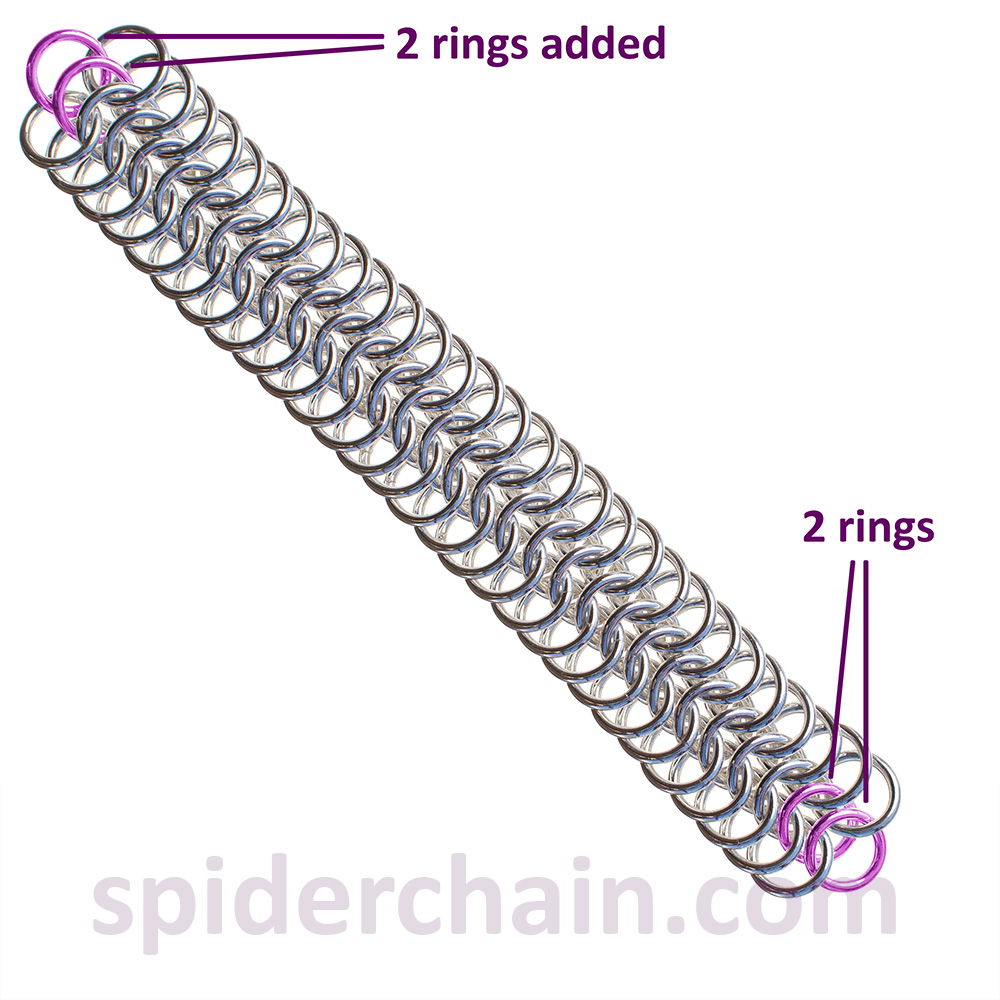
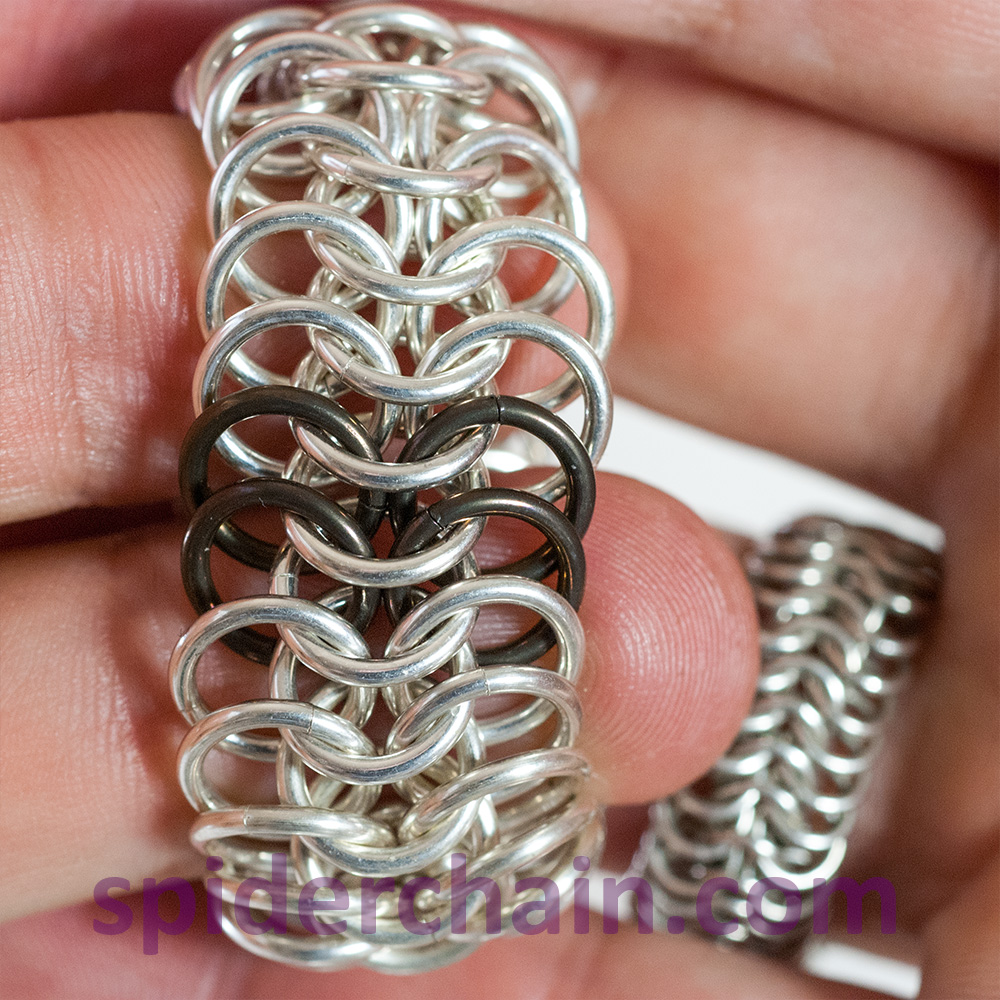
Fill in the ends by adding two middle-row rings to each end (colorized purple). Add these middle-row rings in the same way that you do when lengthening the chain, just don’t put any pre-closed edge rings on at the same time.
The first middle-row ring (on each end) will go through a total of 4 other rings.
The second middle-row ring (on each end) will go through a total of 2 other rings.
 Step 3

Line up the ends of the chain. The middle row is already complete (you won’t be adding any more rings to it) so line things up to make those middle-row rings sit properly overlapped with each other.
 Step 4
Filling in the edge row – first ring.
Pick up a total of three rings – 2 from the first end, and 1 from the other end. Make sure you’re matching the layering and ring direction of the neighbor rings in that edge row.
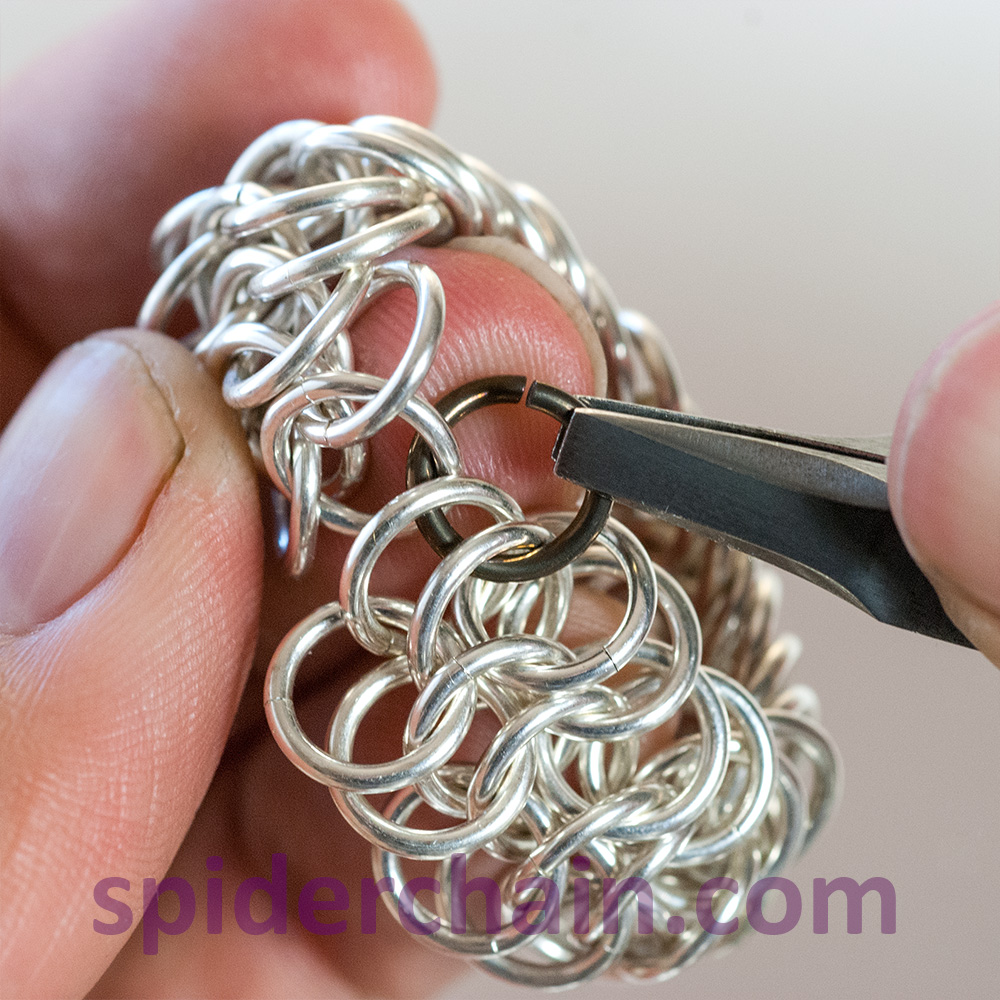
 Step 5
Filling in the edge row – second ring.
Pick up a total of three rings – 1 from the first end, and 2 from the other end. This ring is sharing 2 middle-row rings with the edge ring from Step 4.
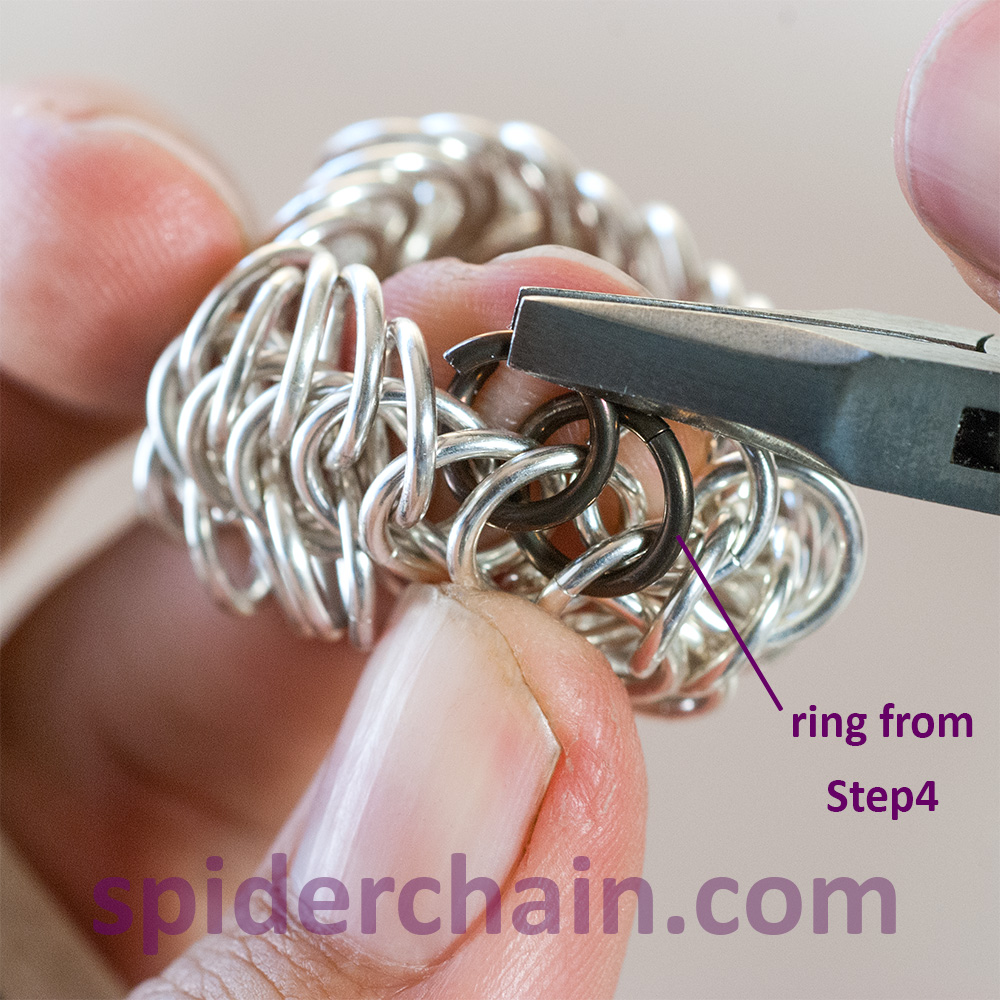
 Step 6

Now fill in that first edge row ring for the other edge. Things will stay in place much better now, and you can use the mirror-image ring to show you which 3 middle-row rings to pick up.
 Step 7

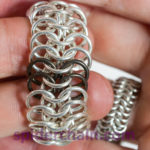
The last edge ring! And now you should have a completely seamless ring of European 6-in-1. Take a moment to “peek” at the base of each edge ring near the join. Make sure that each one goes through three middle-row rings, and that those groups of three layer as they should. Look for anything that breaks the pattern.
 Recap
Recap
Once you fill in the ends (Step 2) it only takes four edge rings to sew the chain together.
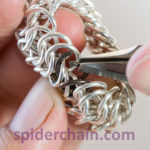
I demonstrated this join with size 16:16 silver and niobium (color #15). This is a great size for a napkin ring, but if you’re making a finger ring you’ll probably want 8:21 or 9:20. (The finger ring that I’m wearing in the background is size 8:21.) Please keep in mind that finger rings see a huge amount of wear and tear (especially on my hands!) You will definitely need to do repairs from time to time.
Thank you so much for this tutorial. I want to make a ring and didn’t know how to join it.
Keep it up? Lol
thank you for the update. the pictures are much clearer for me now. i actually think i can do it now. lol.
dang it spider lady, i am going to have to take back all those things i say about you now. J/K .Good job
and thank you for taking time to do this. I for one, really appreciate your efforts.
You’re most welcome, Tom! It was your email that reminded me I still had these pictures squirreled away, so thank you for the prompt.
Well done – Clear instructions – and they work. 🙂
-ZiLi-
This is great, as are all your instructions! It is easy to follow. Thank you.
Thank the Gods for this tutorial! I’m now encouraged to get back to chainmaille design after a few years of tutoring piano to students who were terrified of their music teacher.