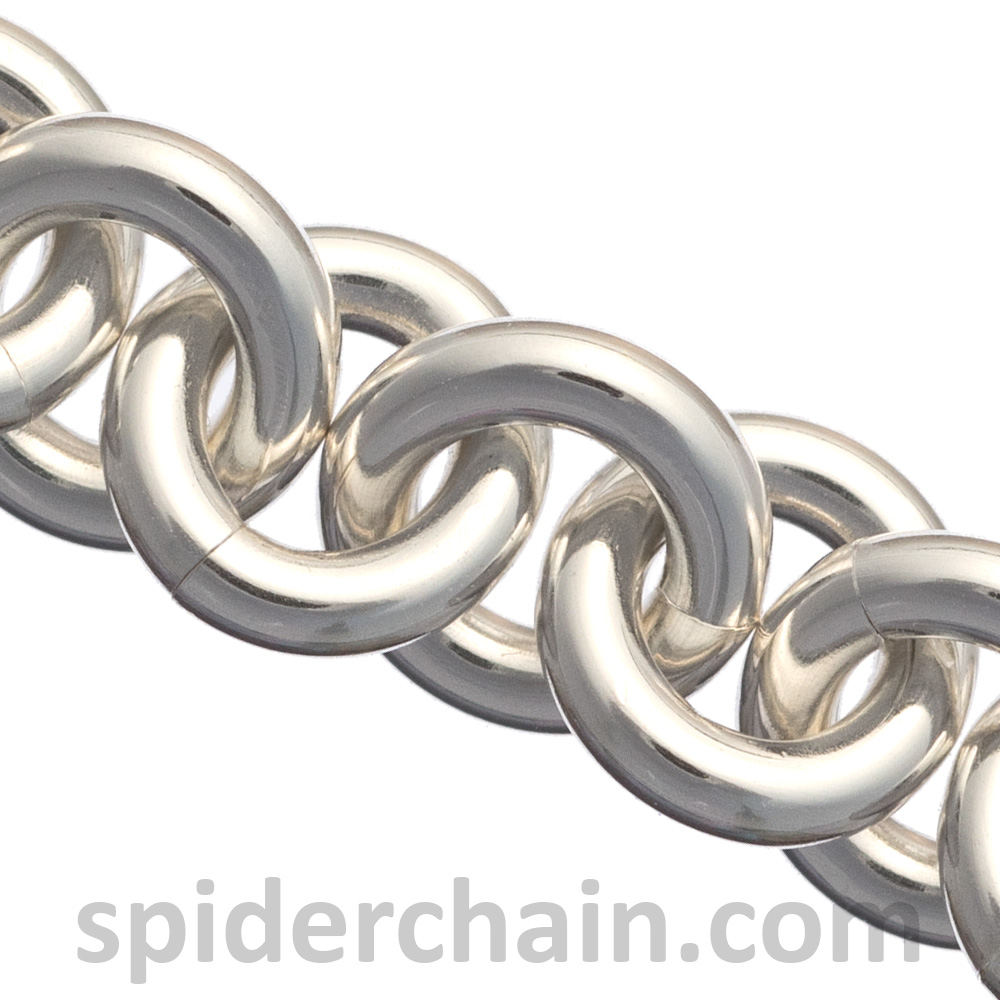
|
P R O J E C T M A P S
|
|
I have more design ideas than I'll ever be able to write up as "proper" instructions. And really, if you already know the weave, many times
all you need is a map to show you how the project comes together. I'm gathering some of those project maps here, in the hopes that you'll be
able to recreate the pieces - even without "proper" instructions. Please let me know
if the maps are clear enough (or if they aren't!)
|
|
|
|
Tendrils necklace
This is another one of my "etude" designs. I sometimes create a piece in order to give students practice in a particular area.
For instance, the
Segmented Dragonscale project will give you a great deal of practice getting Dragonscale started, and
starting is the trickiest part of that weave. This project? Not a tricky weave at all. But the ring sizes are challenging
to close perfectly - that's the teaching angle of this particular etude. But it turns out to be a wonderfully graceful necklace as well!
Size 40:12 is in the Huge Ring specialty category. No clicky-button for that one (yet) so just send me
email if you'd like to purchase some.
The "pendants" are 16ga Argentium silver (or fine silver) with torch-balled ends. Thread on your sequence of hollow beads, wirewrap the
end, and then curve into shape. I've misplaced the original necklace, but once it surfaces I'll note which bead sizes I used. However, don't
limit yourself to my choices! Experiment!
Duck billed pliers are very helpful for getting the larger rings closed well, without marring the surface. Just remember that (unlike
with other pliers) you should come in
straight from the sides when using duckbills.
|
|
|
|
Butterfly Necklace
I decided to make the map for this project on a white background, not black. It doesn't look as good on the web page, but it will
be more practical if people want printouts as pattern reminders. Do you want future maps on black or on white?
Tell me what you think!
I made this necklace for my daughter to her specifications. Peacock mix niobium, yellow goldfill rings,
and 3mm Swarvski bicones in Clear AB. Your bling may vary. (I attached these wire-wrapped crystals with
6:22gf rings, but any small ring would do just fine.)
To make the necklace exactly as shown...
You can, of course, use other
mixes or
solid colors for the niobium portion. Visit the
sterling inch-size page if you don't want to work in goldfill. And yes, I do have that lovely butterfly
in sterling as well.
|
|
|
|
Graduated Birdcage
Like most chains, the birdcage is easy to graduate once you know
the pattern. I think it works best if you span no more than 5 gauges.
(The large sizes will be heavier, and the small sizes will be weaker.
Asking a 21ga ring to support the weight of a 14ga ring is a bit risky.)
Use every wire gauge to make the transition as smooth as possible.
The example picture to the left uses 14ga through 18ga, but you can start with any size and go down - see my
recommended sizes chart for other sizes.
Start in the middle with the largest ring size and when you switch sizes,
always use the larger size for the connector rings. This avoids running out of room between
"birdcages". You can add/subtract birdcage segments anywhere to make the size graduation
more subtle/dramatic, so long as you do the same to each side.
If you don't know the weave, you can find
it on my first DVD, along with six other
weaves. (The DVD does not talk about graduated sizes.)
If you aren't sure what range of 5 gauges you want to work in, I recommend
buying them all in brass first (very good size match for sterling) to play around
a bit. Once you know which sizes you like, you
can get them in silver and make the "real thing."
To make the necklace exactly as shown...
And if you want to play a bit before deciding on your size range, jewelry brass rings are your friend. (I love being
able to test and tweak before breaking out the silver...)
|
|
|
|
Wiggly 6-in-1
I love the illusion in this one - a straight chain that really looks like it's curving! I've shown this technique in 19ga, but it can be done in other
gauges as well. Use my 6-in-1 size recommendation for that gauge as your main size, and then get larger from there. You can find size recommendations for
other gauges on my
recommended sizes chart. I also have
two pictures of sample chains to help you
decide which gauge you like best. (Those sample pictures live on this page.)
I think that the maps on the left are fairly self-explanatory, but please
let me know if you have any questions.
Ring sizes used in the examples:
|
|
|
More projects coming as I have time... Please send me email if you like this information
format. This type of layout map works wonderfully for my brain, but I want to hear back from other brains!
And if enough people vote for a project, I will (eventually) make a kit for it.
|