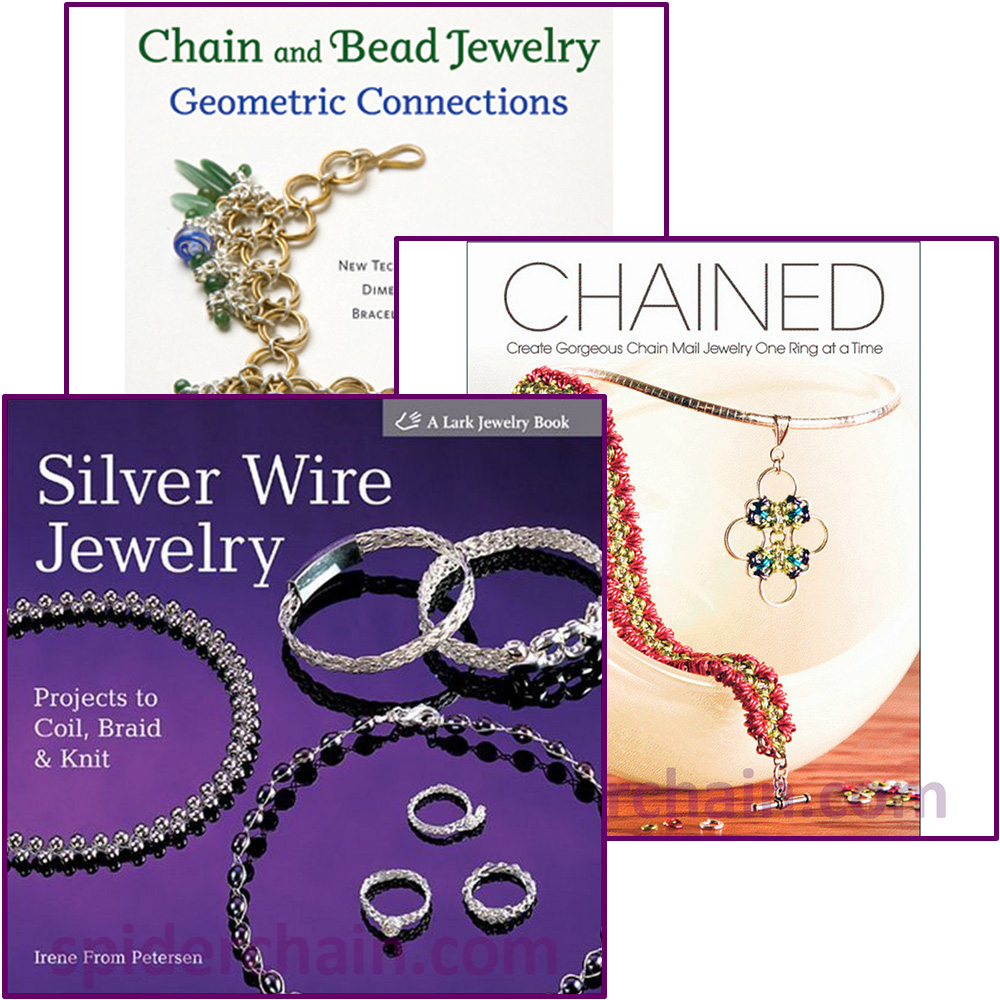
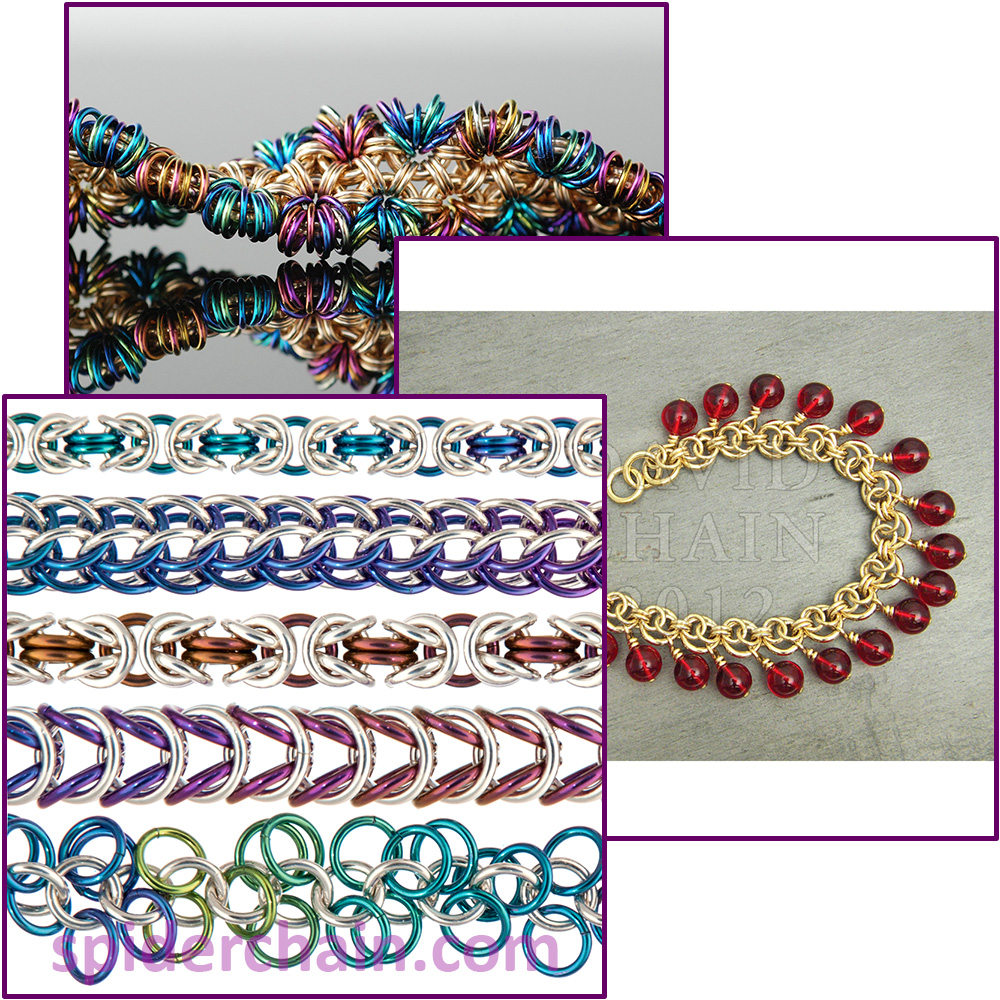
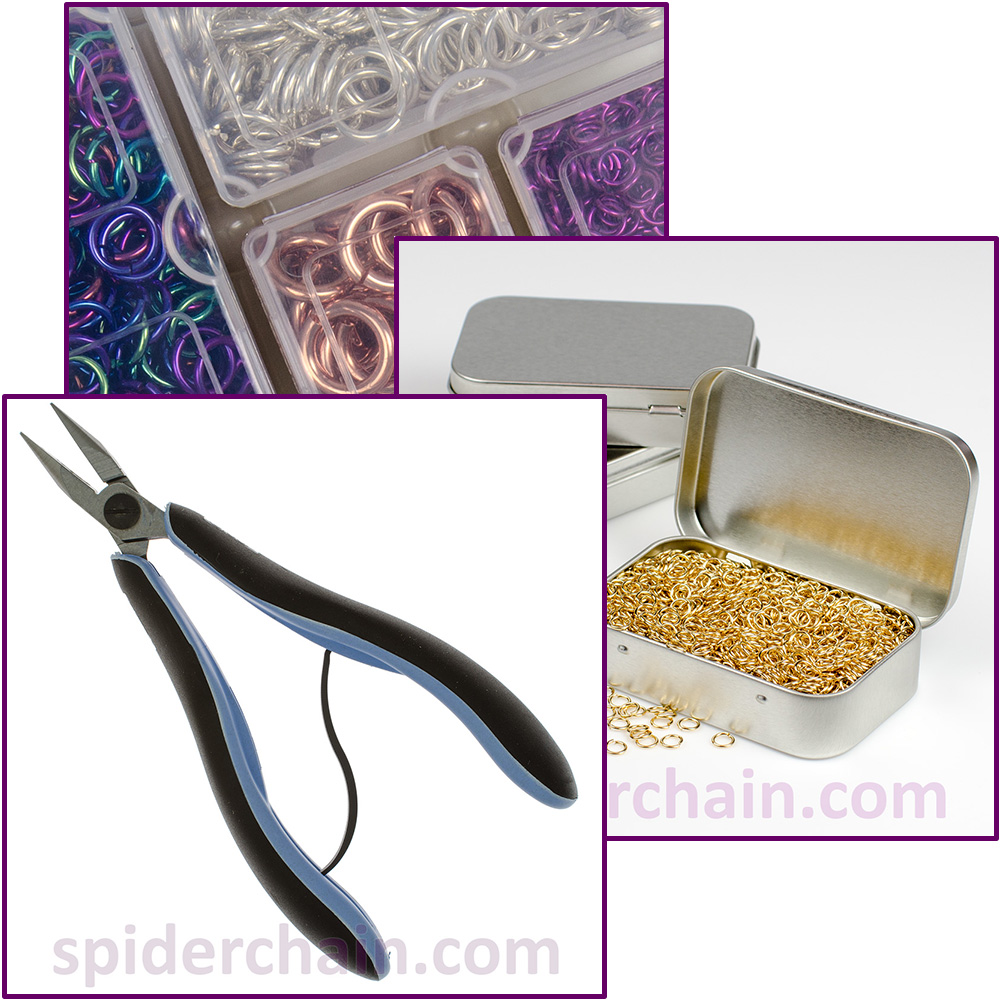
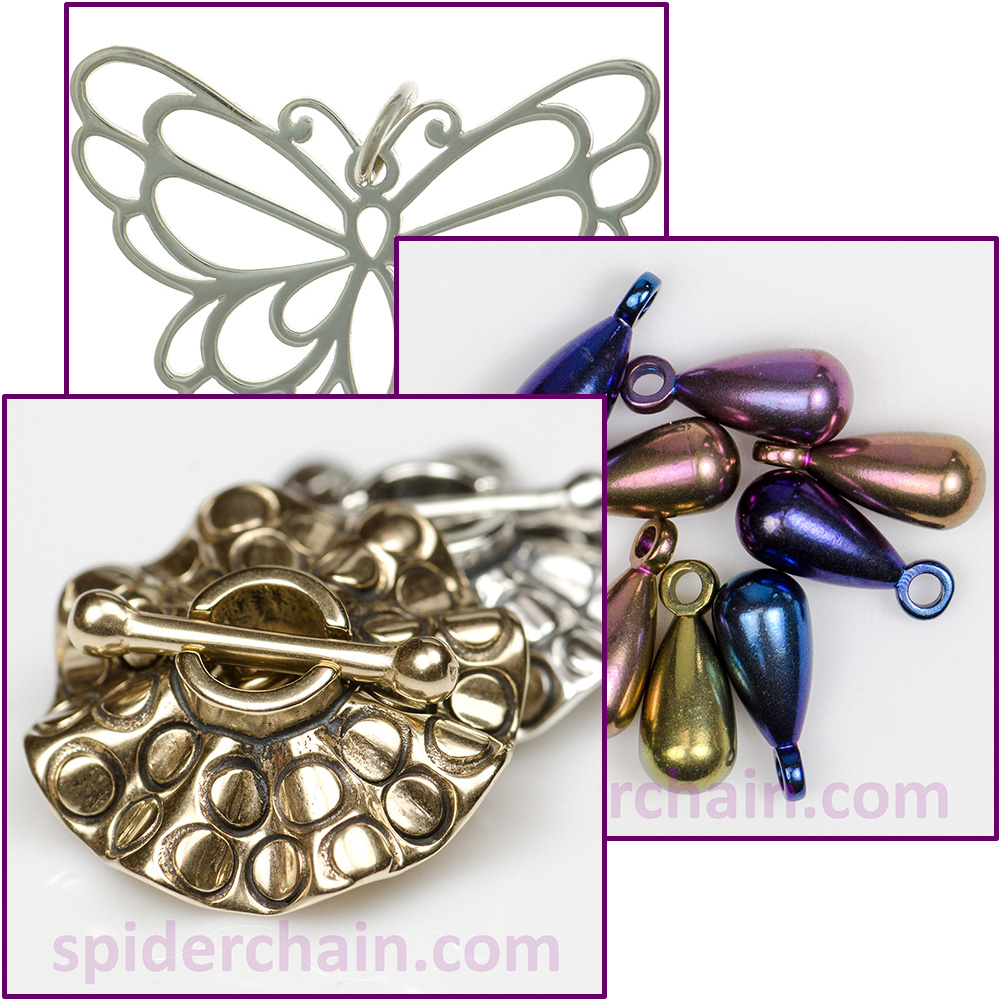
Spiderchain Jewelry
sterling copper specialty DVDs tools
More...
about spiderchain custom work privacy policy
latest changes customer gallery contact
FAQ links
announcement
for sale
archive
I've developed a "system" for my particular type of jewelry photography. At first I was doing a whole lot of hit-or-miss experimenting (mostly miss!), but after playing with the manual settings on my camera a bit I started to see that it's not so intimidating as I once thought - you just have to be systematic. So here are the steps that I go through to get a shot that I like. Hopefully they'll help you figure out how to take your own pictures. Please remember that these are not the techniques of a professional photographer, just a methodically-minded novice.

First, a few comments on equipment.
  • I'm using a Nikon CoolPix 5700 - love it! Although I suppose you could use my "system" with a film camera, I don't really recommend it. The whole idea is to try a sequence of things, choose which one worked the best and go from there. It'd be hugely frustrating to wait for developing time for each step... Assuming you are using a digital camera, I highly recommend doing whatever is necessary to be able to leave the camera in exactly the same position on your tripod. This means that you have to be able to download the pictures to your computer without moving the camera. Solution is left as an excercise to the reader...
  • I'm also using lighting equipment from the Cloud Dome people. I highly, highly recommend their light-diffusing easy-to-use total-joy tools. (No, I'm not affiliated in any way. I just like their stuff that much.)
  • A tripod. You need one of these. Really.
Now, on with Spider's Photography System ™
  Step 1 - Pretty Layout

Spend a while trying every possible arrangement that you can think of for your item. You want to make sure you have to best possible layout and camera angle before you commit to getting all the camera settings perfect.
Step 2 - Focal Distance

With your camera firmly attached to the tripod (you have one of those, right?) set the depth of field to be as narrow as it can possibly get. Then put your camera on manual focus and click one picture at each focal distance. You won't have to go through absolutely every focal distance, only the ones that aren't clearly too close/far. I don't know about your camera, but it's pretty hard to tell on mine.

The pictures on the left range from 0.13m to 0.19m in 0.01m increments. Don't ask me if those are standard increments, I just clicked the wheel to the right and snapped a picture until I could tell I was out of focus again.

Download your focal distance shots to your computer and have a look. Choose the one you like the best (focused on the most important aspect of your piece) and note the focal distance that it used. Your camera should have come with some sort of software that will let you check those sorts of details. If you can't find the software, you'll have to resort to pen and paper note-taking.
Step 3 - Depth of Field

You have your focal distance figured out. Don't move the tripod!

Set your camera back to the good focal distance. Now take a series of pictures with gradually increasing depth of field. For this one I do recommend running through all possible settings. I've been surprised by which setting looked best to me. Load this batch onto your computer and pick your favorite. (Much more subjective than the focal distance decision.)

The shots on the left range from f-stop 3 to f-stop 7.6, but I'm not quite sure what the deal is with the slowly increasing increments. No matter, they're each one click more than the last one.
Step 4 - Play with Lighting

Focal distance - check. Depth of field - check. Now for the most subjective decision of all. Lighting.

When I say "play" I really mean it. Try dramatic side light. Ambient light. No light. Bounce the light off of colored fabrics, the walls, your face. Try spotlight, candles, anything!! Remember, you're using a digital camera, so it's just bits. You can delete the horrid ones and you never know when you may come up with a surprising winner. I personally tend to like long exposures using ambient light during daylight hours. But I'm also photographing mostly silver and I prefer it to look "warm."

If you're a Truly Buff Photographer, you could vary your exposure times too, but I just tweak the lighting and then let my poor camera figure out the best exposure time. But if you're a Truly Buff Photographer, you probably aren't reading this tutorial...
And that's it! Spider's cheat guide to getting decent jewelry pictures. If you have any questions/suggestions (or you just noticed a typo) send me email. But please remember that I am not a professional photographer. I probably won't know the answer to any of your really technical questions.

Happy photographing! I hope this helped!